FRAMING RECOMMENDATIONS
Professional Framing
These prints are created to museum archival standards and deserve professional presentation.
I strongly recommend taking your print directly to a professional framer upon delivery.
Professional framers understand archival materials, proper handling techniques, and presentation methods that preserve print quality for decades.
Frame Considerations
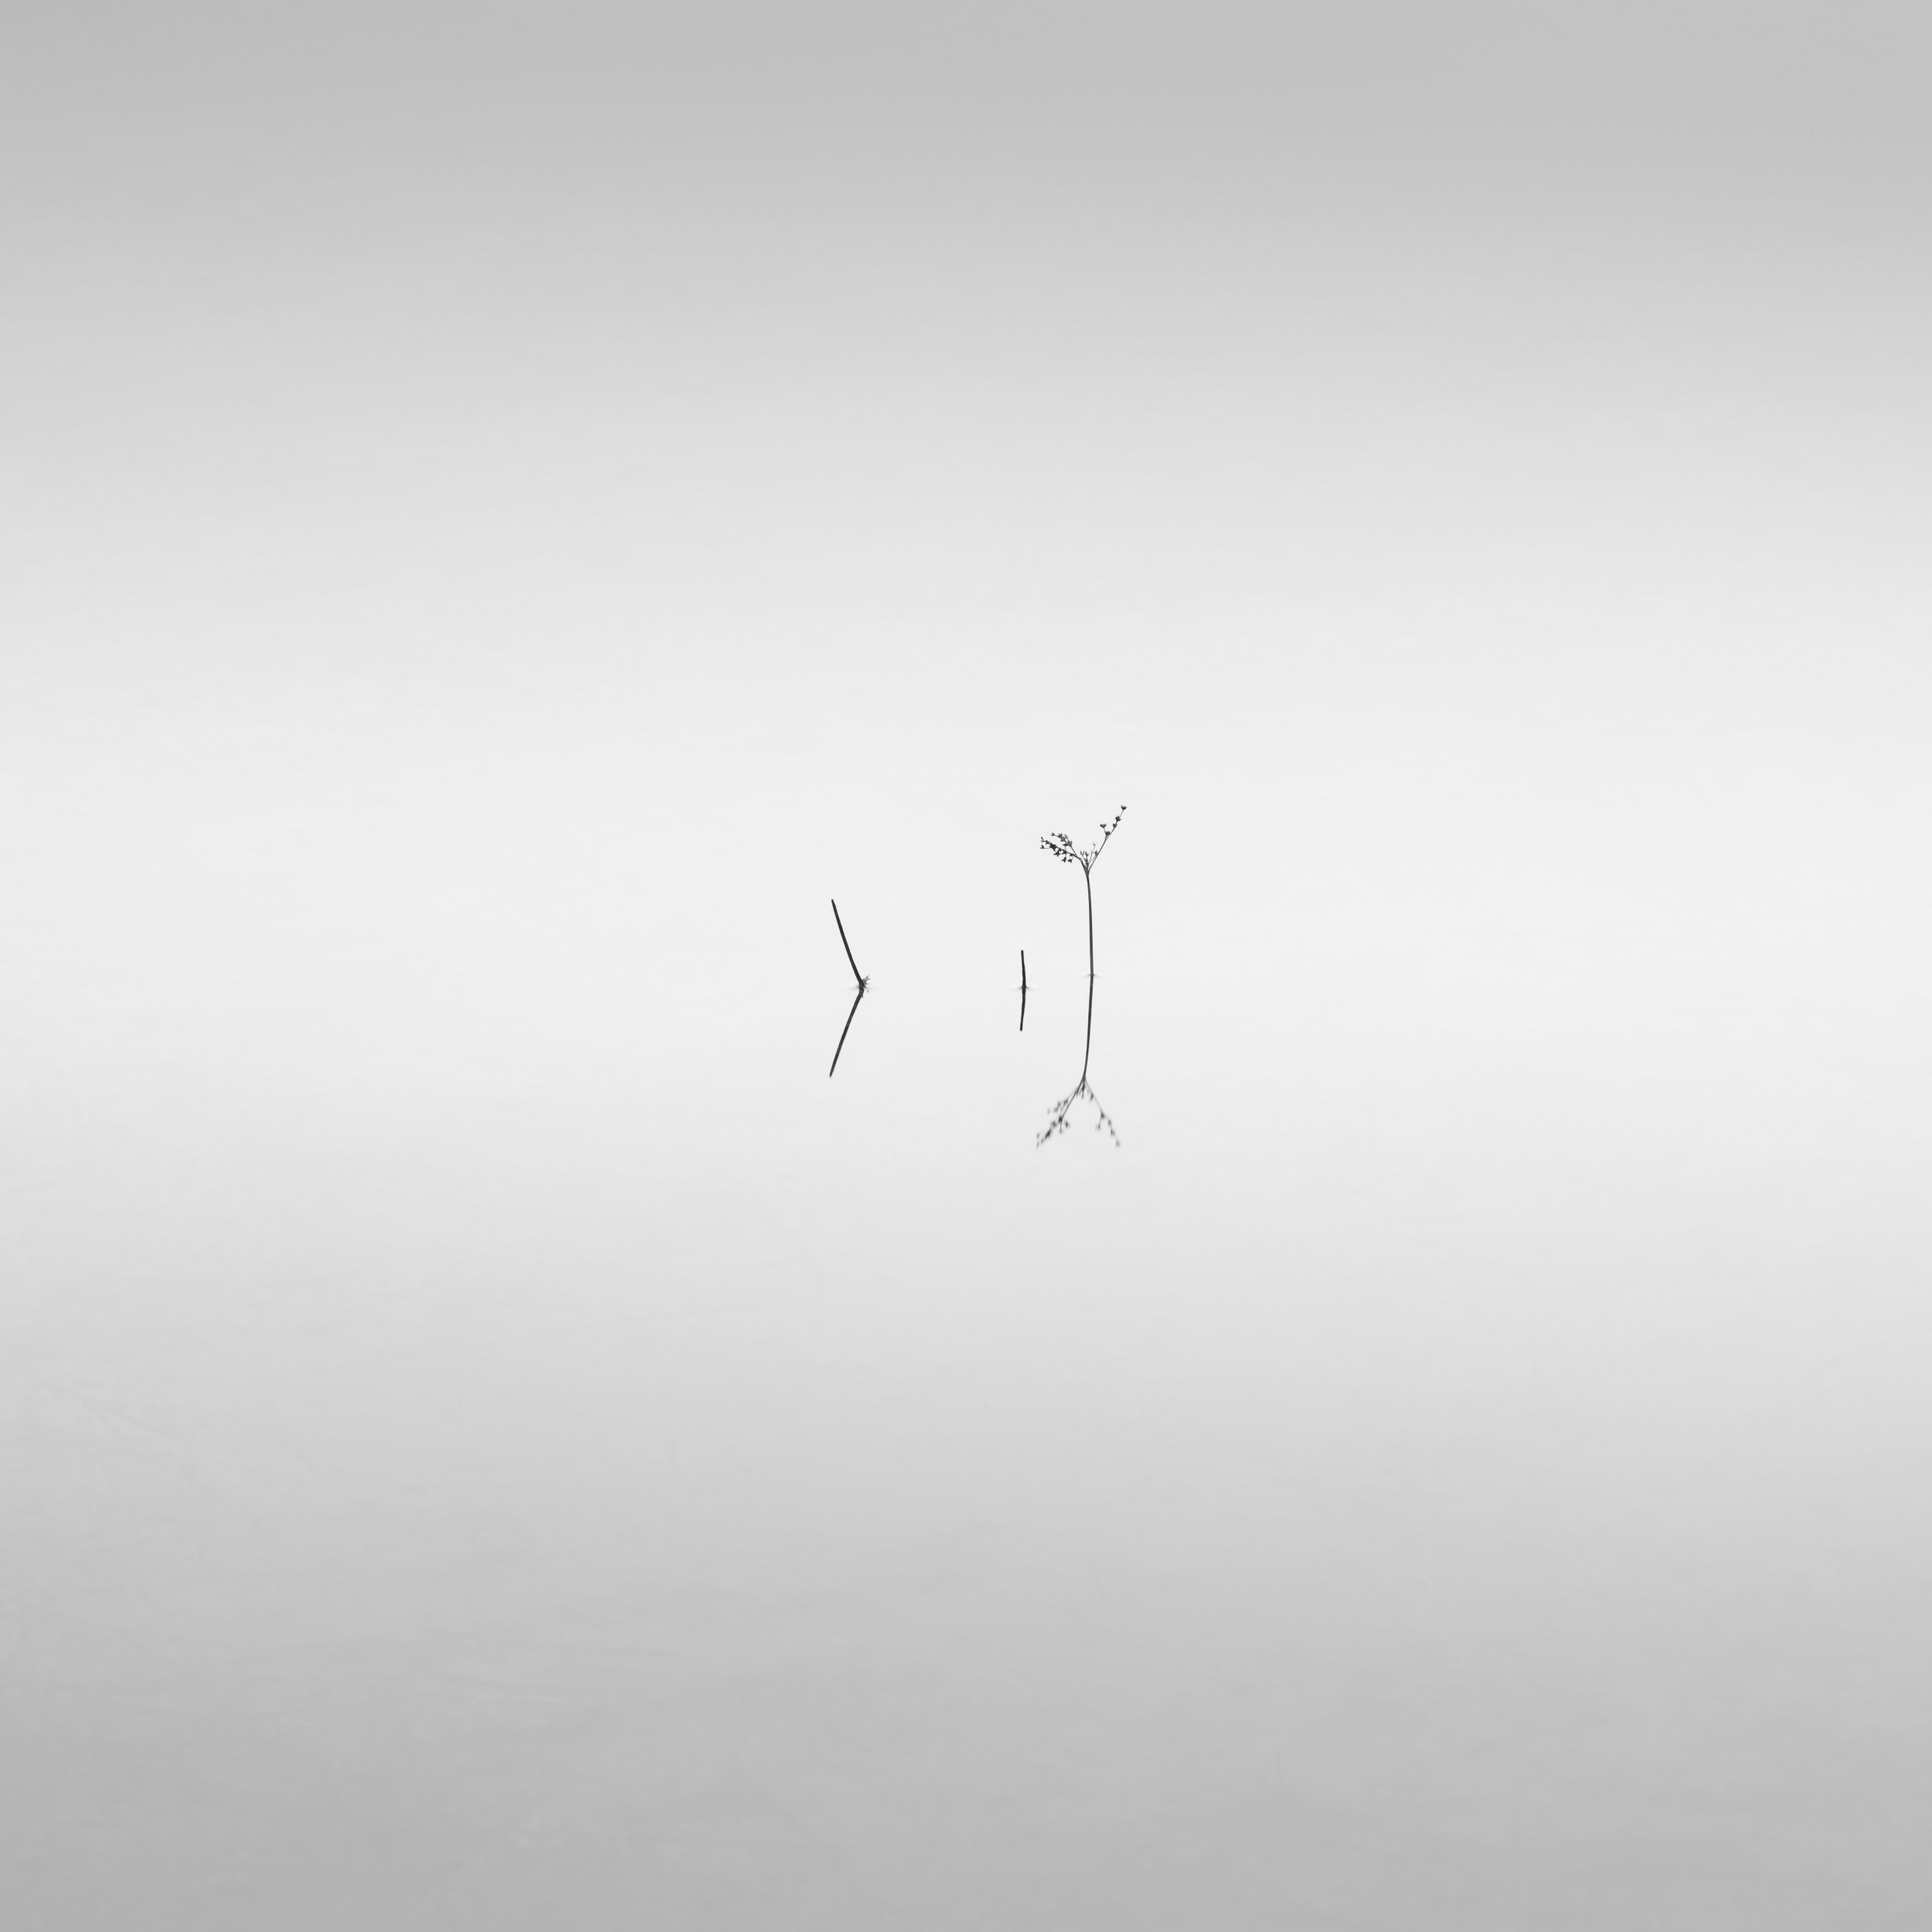
Print dimensions vary by image based on the composition's natural aspect ratio.
Common formats include: - Square (1:1 ratio)
Standard rectangular (2:3 ratio, horizontal or vertical)
Panoramic (3:1 or wider)
Frame Style
Simple, clean frames work best with minimalist photography. Consider:
Black wood or metal frames (classic, gallery-standard)
Natural wood frames (contemporary, warmer aesthetic)
Thin to medium profile (2-4cm width)
Avoid ornate or heavily decorative frames that compete with the image.
Glazing
Museum glass or conservation glass is strongly recommended:
Non-reflective coating reduces glare
UV protection prevents fading
Maintains print longevity
Worth the investment for archival prints
Standard glass is acceptable but offers less protection.
Matting
Matting is recommended to keep the print surface away from the glass.
The white border already printed on the paper can serve as visual matting, but an additional mat board should be used on the print to:
Prevent the print from touching the glass
Allow proper mounting
Create depth in the frame
Your framer can use an archival mat board that matches the white border, creating a seamless presentation while protecting the print.
Mounting
Ask your framer to use archival mounting methods:
Acid-free mat board and backing
Conservation mounting techniques (corner mounts or hinges)
No permanent adhesives that could damage the print
Mounting should allow the paper to breathe and expand/contract naturally
FRAMING IT YOURSELF
If you choose to frame the print yourself, please follow these guidelines carefully to protect your investment:
Materials Required
Purchase only archival-quality materials:
Museum or conservation glass: Non-reflective, UV-protective glazing
Mat board: Acid-free, conservation-grade (white or off-white to match print border)
Backing board: Acid-free foam core or conservation board
Mounting corners or hinges: Archival photo corners or linen tape (never permanent adhesive)
Cotton gloves: For handling
Assembly Steps
Prepare workspace: Clean, dry surface covered with clean paper or cloth
Wear cotton gloves throughout the entire process
Unroll print carefully if shipped in tube:
Allow print to relax naturally for 24-48 hours before framing
Place print face-down on clean surface with light weight on corners (books wrapped in clean cloth)
Never force the print flat
Clean the glass thoroughly on both sides before assembly
Mount the print:
Use archival photo corners or conservation hinges only
Mount to backing board, never directly to mat board
Position print so white border is visible and signature is at bottom right
Ensure print is not touching the glass (mat board should create 2-3mm space)
Assemble frame:
Glass first (cleaned, facing inward)
Mat board (if using additional mat beyond print border)
Print mounted to backing board
Backing board
Seal frame according to manufacturer instructions
Inspect before sealing:
Print is straight and centered
No dust or debris trapped inside
Print surface is not touching glass
Signature is visible and positioned correctly
Important Warnings
Never use regular tape, glue, or permanent adhesives
Never mount directly to glass or let print surface touch glass
Ensure all materials are acid-free and archival quality
If print has been rolled, allow adequate time to relax before framing
Handle by edges only, never touching the image or signature area
If you are uncertain about any step, please consult a professional framer. Improper framing can permanently damage an archival print.
PRINT CARE
Unboxing
Your print will arrive rolled in a protective tube. Upon arrival:
Open packaging carefully in a clean environment
Wear cotton gloves or ensure hands are completely clean and dry
Gently unroll the print on a clean, flat surface
Allow the print to relax naturally for 24-48 hours before framing
During this time, you may place light weights on the corners (books wrapped in clean cloth) to help flatten, but never force or crease the print
Handling
Always handle prints with clean, dry hands or, preferably, wear cotton gloves.
Hold prints by the edges only, never touching the image surface or the white border where the signature appears.
Natural oils from skin can damage archival paper over time.
Storage Before Framing
If not framing immediately after the print has relaxed:
Keep print flat between clean acid-free tissue or glassine paper
Store in a cool, dry location away from direct sunlight
Avoid humid environments (bathrooms, damp basements)
Do not re-roll the print once it has been unrolled
Place on flat surface with protective covering
Keep away from pets, liquids, and food
Display Conditions
Once framed:
Avoid direct sunlight (causes fading over time)
Avoid extreme temperature fluctuations
Avoid high humidity areas (bathrooms, kitchens)
Standard indoor conditions (18-24°C, 40-60% humidity) are ideal
Avoid hanging near heating vents or air conditioning units
Cleaning
Never clean the print surface directly.
Once framed, if the glazing requires cleaning, remove the frame from the wall and clean the glass exterior only with appropriate glass cleaner on a soft cloth, never allowing moisture near the print or frame edges.